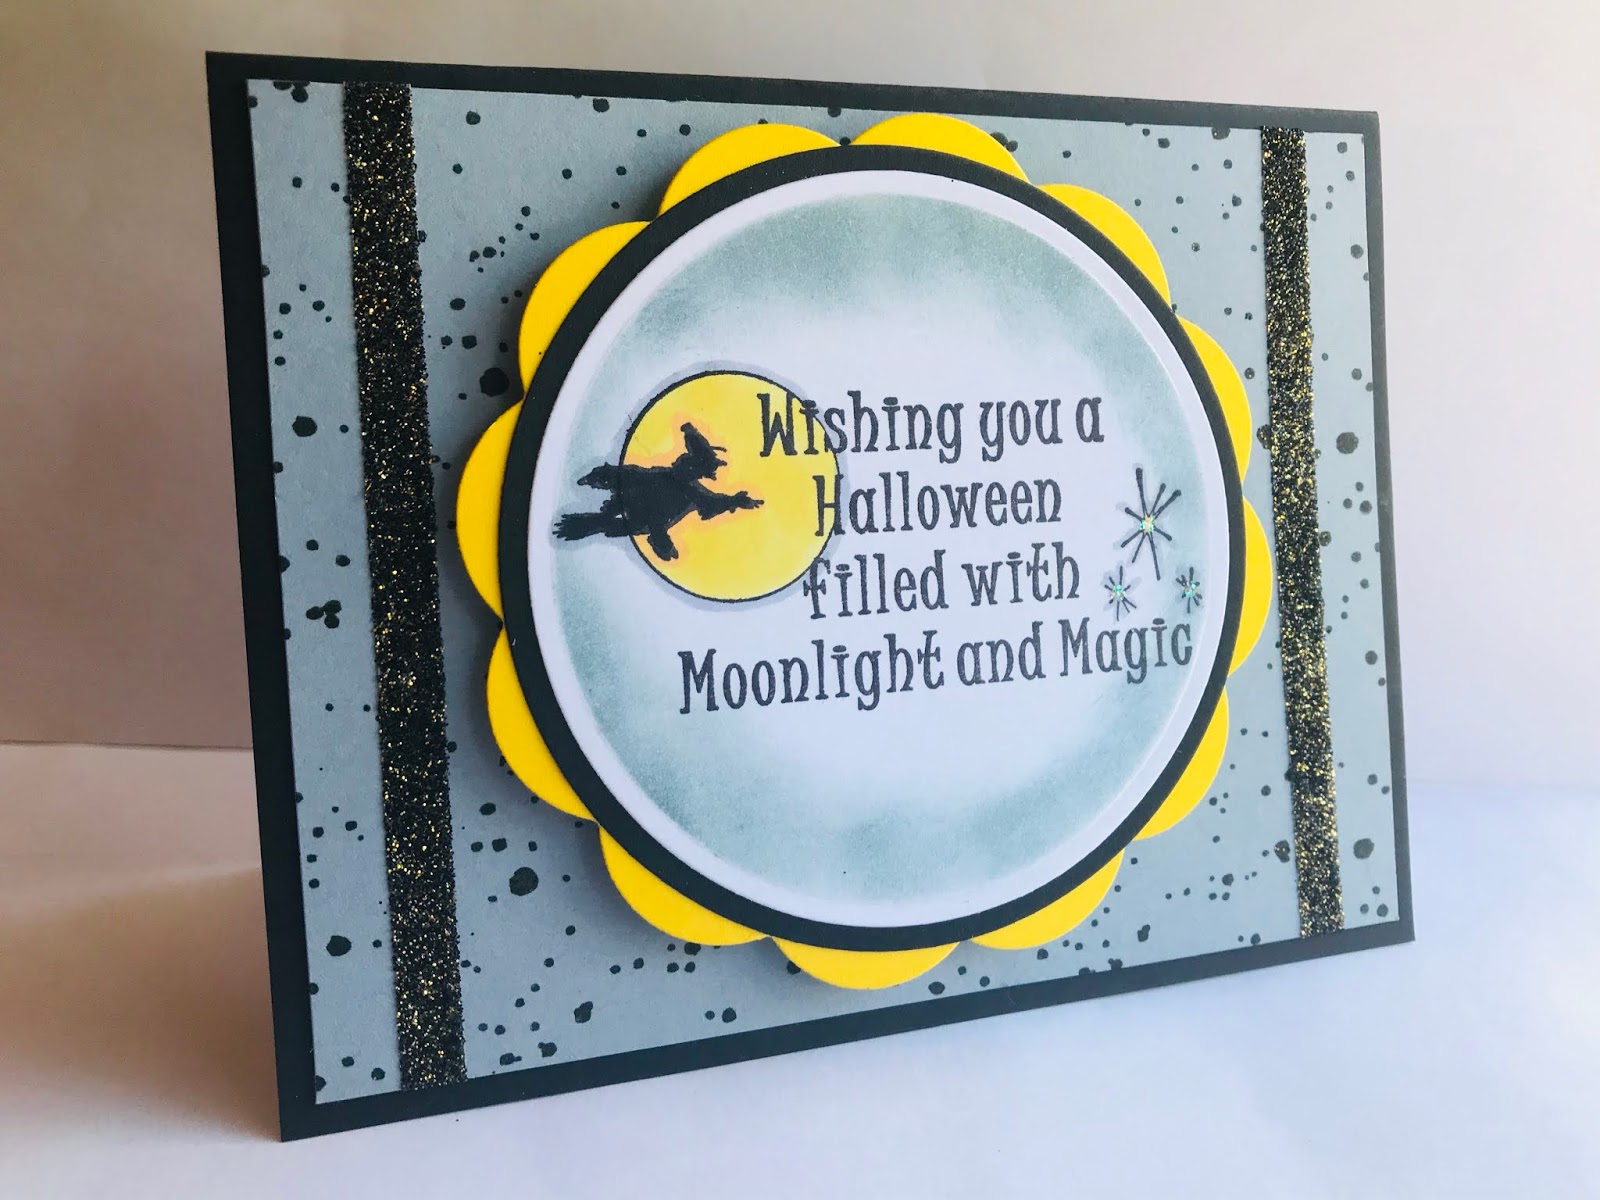
Welcome!

My name, Karin, was pretty common when I was growing up...just not the spelling. Unless you are of German heritage like I am. So, I have spent my entire life answering the question, "What is your name"?... With, "Karin...with an "i"! Who knew it would come in handy all these years later when I went to name my blog.

Tuesday, December 29, 2020

Happy New Year

 Hi Everyone,


We're only a few days away from turning the calendar, and I know I'm not alone is wishing 2020 good riddance!  Bring on the new year!

To celebrate, I made a card using the Sticky Note Calendar stamp.  I hand wrote the numbers and added some glitter glue to the first day to highlight the holiday and the January heading came from the January Birthday Greeting stamp.


For the background, I used the Interlocking Star, along with a star border punch accented with some glitter strips.  The happy new year greeting is a portion from the stamp 365 Days of Happiness.  

To finish it off, I simply added a star gem.

Cheers to 2021!
Karin

Tuesday, December 22, 2020

Frosty

 Hi Everyone,

Here's a look at the one paper crafted holiday item I made this year.  I was working on things over the summer for my niece's wedding and I made this rosette out of white paper.  It didn't work out for my favors, so I added some winter elements and made this ornament for the tree.

The rosette base was made from 2 strips of paper measuring 2" x 12", and scored every 1/4".  It was then border punched along one side, folded accordion style and hot glued together.   I stamped, colored and fussy cut the Medium Mr. Snowman image, attaching him to a few die cut and embossed circles of matching paper.  The word Frosty came from the Winter Wonder Words Greeting stamp.


And on the back I used the Snowman Especially for You stamp.


For my Christmas dinner, it will once again just be the 4 of us, so I copied myself and made the same favors I did in this Thanksgiving post, just using peppermint flavored chocolates and these stamps:


However you're celebrating this year, I'm wishing you a Happy Christmas!

Cheers!
Karin


Tuesday, December 15, 2020

Happy Retirement

 Hi Everyone,


I'm using the new Brush Happy Retirement Greeting from DRS Designs on my cards today, and I created a couple of  scenes to go along with it.  

Here I stamped and die cut the sentiment and set it aside while I made the rest of the card.  Whenever I get overwhelmed at the thought of making a whole scene, I go small like I did here.  I stamped the Chair first, sponged on the sky, and then just drew in the grass.  I then used the Single Fall Tree and added a border.  My background on the other part of the card was stamped using the Splatter Background stamp in inks to match the scene.  A bit of sponging on the sentiment, along with a ribbon and a few punched leaves completed it.


For this card, I colored and die cut the Sleeping Gnome, and attached it to a background that had a sponged sky and a stamped grass using the Easy Grass Background.


I stamped the greeting at an angle and added the Silhouette Leaf Branch in the background, to finish it off.  
Napping.  Now there's an activity I can get behind!

Thanks for visiting today!
Karin


Tuesday, December 8, 2020

New Home

 Hi Everyone,


I'm showing off a couple of the new stamps that have been released here at DRS Designs, and they celebrate one of the best milestones in life, getting a new home!  Whether it's purchasing a new place, or moving into an apartment, DRS Designs has got you covered :)

Here I stamped, colored and die cut the Just Moved House Key image.  I'm not sure it shows up in the photo, but I colored in the key using a silver gel pen, so it has that nice shiny metallic look of metal.  I paired that with an embossed background of keys, added a strip of glitter and a few gems to balance it out.


This card is a mini nod to my team mate Nancy. She made a card last week using a portion of the 
New Home Greeting, and I decided to borrow that idea.  She also makes the absolute best wreaths on her cards.  ( Just click here, here or here!)  Mine is not like hers, its simply made using a die (Spellbinders Shapeabilities) and some ink.


Here I continued the greeting inside and stamped the Just Moved House Key a couple more times.


Thanks for visiting today!  

Happy Holidays,
Karin


Tuesday, December 1, 2020

Have a Ball


 Hi Everyone and Happy December!


It was nice to take a break from working on Christmas cards, and these bowling themed cards brought back great memories of my mom.  Back in the day my mom was looking for a hobby, to socialize and get out of the house, so she joined a bowling league.  Mind you, she never bowled before in her life, but boy did she get good at it.  She has been gone 15 years, but  my dad still has her trophies in the basement :)   


Here I stamped the background using the bowling ball image from the Strike! 3 in 1 Bowling Designs stamp.  I added a "bowling lane" along the side using the Floor stamp and fussy cut the Bowling Strike, attaching them with some dimensional tape.  I then stamped and cut one extra pin, and attached that to the image for more dimension.  
I stamped and die cut the Bowling Birthday Greeting and added 3 enamel dots to finish it off.


Inside, I once again stamped the ball image and added the fun, Ball on Your Birthday Greeting.


Here is one more bowling card, using the Ball on your Birthday Greeting on the front.   This time I stamped the pins from the Strike! 3 in 1 Bowling Designs along a strip and then layered the ball image from that stamp onto some punched circles. 

Be sure to visit DRS Designs for these stamps and for lots more stamping ideas too!
Have a great day!
Karin


Tuesday, November 24, 2020

New Home

  Hi Everyone,

I have a quick post today, because I still have so much to do.  While my Thanksgiving table will only have four around it this year, I'm grateful for each one.  And because I'm still having more than just me, I will be cooking a turkey and all the traditional sides :)  


I used fall inspired colors for my new home card today.  I was looking through my stamps for a house image, and decided on the Snowy Birdhouse because it was a seasonal one.  I colored and die cut it, along with the New Home Greeting.  For the background, I stamped it up using the Small Pinecone image and added some glitter glue and a die cut leaf to complete it. 


Even though I'll be celebrating my holiday with only three other people besides myself, my table wouldn't be complete without a favor.  I found these chocolates at the grocery and decided to cover them up make them more festive. 


I cut the paper into 3"x11" strips and stamped them using the Splatter Background.  I scored it along the center bottom in a couple of spots to wrap around the package and used a hole punch to thread in a ribbon on top. 


I stamped the Script Happy Thanksgiving and the Medium Silhouette Leaf in a die cut oval and attached it with some dimensional foam tape.  

Be sure to pop on over to the DRS Designs store to see all of the newly released stamps...

Cheers for a Happy Thanksgiving, the greatest eating holiday of the year!

Blessings!
Karin


Tuesday, November 17, 2020

Thinking of You

 Hi Everyone,


I love seeing a cardinal in winter.  There's just something about seeing that bright red color against a snowy white backdrop that just lifts my spirits.  

One of the newest stamps that was released for this holiday season DRS Designs is the Cardinal Holly Lantern.  
Fun to color and beautiful for crafts and cardmaking this winter season, I die cut the image and attached it to a background that was half stamped with a Pine Bough and half dry embossed.


I used the new Thinking of you at Christmas Greeting, which is one that I will be stamping with a lot this year.  


And speaking of that sentiment, I challenged myself to make another card using it, only this time to make something super quick.  I used my watercolor brush, a holly leaf punch (Martha Stewart) and some enamel dots for the images and I stamped and cut up the sentiment.  


I liked that so much that I tried again, this time using one layer, a snowflake punch (Martha Stewart) and the Tiny Seasons Greetings stamp.


I'm famous for running to my craft area to whip up a last minute card.  Now at least I have an idea for one!

Wishing you a crafty holiday season...

Karin


Tuesday, November 10, 2020

The Beauty of the Season

  Hi Everyone,


We did a lot of work remodeling the outside areas of our home this year.  We removed our deck, brick walkway, and pine trees and put in a paver patio, fire pit and fence.  The deer are so confused, we see them standing on the outside trying to figure out what happened to their usual thoroughfare.  For me it has been a joy to have some fall flowers and even a bird feeder that they can no longer eat and empty!


This has inspired today's card.  I stamped and heat embossed the background using the Interlocking Snow Background.  The Beauty of the Season Christmas Greeting and Bird Feeder image were stamped, and then die cut to create one central panel for the front of the card.  


After coloring the image, I also stamped and colored the Small Pinecone, which I fussy cut and attached to the card along with some ribbon.  To finish up, a bit of glitter glue was added to the pinecone tips for a snowy embellishment.

Thanks for dropping in to visit!

Karin


Tuesday, November 3, 2020

 Hi Everyone,

Now that it's November, I did my first bit of holiday preparation yesterday.  I unpacked my Christmas dishes in anticipation for December dinners.  It's generally the first thing I do, since they're behind cupboard doors, so no one but me knows.  One year I did put up my tree before Thanksgiving though, but I was pretty tired of looking at it by the time Christmas rolled around, so I'm not doing that again. I will continue to decorate on Black Friday, it keeps me out of the stores and it's been my tradition since I was in college.

On that note, here is my card using the new Potted Christmas Tree stamp.  After coloring and die cutting it, I went and embellished the ornaments with some glitter glue for a bit of sparkle.  The background and tiny tag were stamped using the Interlocking Snow Background, and then I stamped the tag using the Tiny Season's Greetings.

I die cut a big snowflake and used a solid ribbon for the tag and a printed ribbon along the bottom of the card.  One pink gemstone finished it off.


The month of October had me going to two drive by parties, one birthday and one baby shower.  So very 2020, am I right?!

Anyway, I made this cheerful piggy card for the birthday celebration.  Leonard Pig Behind the Bubble is the star of the card.  I colored him up and used my circle dies, along with the Delightful Surprises Birthday Greeting and I added some glossy accents to the big bubble.


And in keeping with the circles theme, I used the Interlocking Circles stamp to create the background.  

Here's wishing you a delightful day!

Karin

Tuesday, October 27, 2020

Shell-ebrate the Season

 Hi Everyone,


I can say that I've never celebrated Christmas anywhere that looks like the scene on my first card.  It's always cold and snowy where I live, so I'll just have to travel to the tropics via my crafting, for the foreseeable future. 

I had fun using the same gnome themed stamps on the two cards I posted last week, so I thought I'd try that again, only this time using a seashell theme.  Here I created a scene using the Mountains and Silhouette Palm Tree Line, which I masked off in order to sponge in the sky.  I simply used my Copic markers to color in the rest of the scene, adding some ripples in the ocean using a white gel pen.

For the Shell-ebrate the Season Greeting, I stamped the Wooden Frame Collection first and then added the sentiment before fussy cutting it out and coloring it up.  Finally the starfish and shell were stamped using the 4 in 1 Seashells.


This second is is obviously not as time consuming to make, but I thought it would be fun to use the seashells and make a card in traditional Christmas colors.

I used a 1" punch for the shells and the embossed portion was made using a seashell embossing folder from Darice.  


The only extra I added is that tiny piece of twine.  

Are you finally thinking about holiday card making?  Be sure to stop on over to DRS Designs so see what's new in the world of stamping!

Thanks for stopping by!

Karin

Tuesday, October 20, 2020

Gnome for the Holidays

  Hi Everyone!


I feel so lucky to be able to give you a peek at one of the new sentiments that is being released this week.  The Tiny Gnome for the Holidays Greeting is perfect for the collection of gnome stamps here at DRS Designs. 


Here I stamped the Tree Home Gnome and colored it up, adding some lights to his place of residence

that were fussy cut from the Christmas Light String.  


The background was stamped using the Large Original Plaid stamp and some black ink.  By stamping on a colored piece of paper, you get the a two color look by only using one ink. I added a punched border along each side and embellished it using a printed ribbon and a snowflake brad.


For my second card, I wanted to keep with the gnome theme, and showcase the same sentiment, so I stamped the Toadstools around the perimeter of the background and colored them in very loosely using a watercolor brush.  I did the same with the Mushroom Line Background and added the Peeking Gnome that was colored and fussy cut.


In the spirit of this adorable gnome, thanks for peeking in today!  To see all of the new stamps, just click on over to the store!


Have a great day :)
Karin


Tuesday, October 13, 2020

Count Your Blessings


Hi Everyone,


Just like last week, I have a card featuring the Laid Out Scarecrow...He's just beyond cute!


What can I say?  He and the World Changed Thankful Greeting paired up together, were all this simple card needed.   To make them fit inside the die cut, I masked off the Happy Thanksgiving portion of the stamp, and I attached the panel to an embossed pumpkin background.


The hanging banners with the dots were made after I colored up the scarecrow, using the same orange and blue Copic markers, so that they would match.  


Here's hoping we can be thankful for the rest of the fall season!

Karin

Tuesday, September 29, 2020

Sunflowers

 Hi Everyone,


I just love this cheerful Bucket of Sunflowers.  What could be better than this to celebrate the season of giving thanks, right?


I stamped the basket, and then masked it off and stamped the Floor on top.  After coloring the image, I die cut and matted it, pairing it up with the World Changed Thankful Greeting that was also die cut.


I attached this onto a leaf embossed background and added a few fussy cut sunflowers from this same image for embellishment.  

Thanks for stopping by!
Karin

Tuesday, September 22, 2020

Just a Note

Hi Everyone,

My babbling brook and meadow card is one that can be used for any occasion.  I need to keep those handy for when I'm in a pinch, and this would be one that's gender neutral too.  All I have to do is choose a greeting for inside when the time arrives.

I began at the bottom of my image panel, stamping the River Rocks twice, for either side of the stream.  I then stamped the Tree Line up top. After coloring everything in, and stamping some grass using the Easy Grass Background stamp, I then stamped the Fence Line, finishing it off with a few hot air balloons from the 4 in 1 Sky stamp.  


The 1 Line Just a Note greeting fit perfectly on the bottom.  I'll pretend I planned that out the whole time, but it's nice when things work out in the end :)

Thanks for stopping by!
Karin


Tuesday, September 15, 2020

Changing World

Hi Everyone,

There isn't a more fitting card sentiment in the stamping world, than the new World Changed Thankful Greeting that was recently released at DRS Designs! 

I stamped, die cut and added some sponging in fall colors to the sentiment, and thought I would use some changing fall leaves for the background.  I stamped the Open Leaf in Versamark and heat embossed with some copper colored glittery embossing powder.  


I used a die (Darice) for the die cut pattern along the bottom and and dry embossed a band for the center of the card.  A couple of gemstone brads finished it off.

Here I tried to get a closer shot of the background leaves.


Thankful for you stopping by the blog to day! 

Have a great one!
Karin


Tuesday, September 8, 2020

Happy Thanksgiving

Hi Everyone,

I love the sweet, serene look of this chair filled with the bounty of autumn.  With the hat slung over the back, it looks like someone just came in from the garden.  It was a pleasure coloring up the new Autumn Harvest Chair (042K) and making some backgrounds for the fall themed card were fun too.

The brown layer was stamped using the leaf portion of the 4 in 1 Harvest Designs and the strip along the side was stamped using the Argyle Background  and the Argyle Diamond.  I love that the little diamond stamp fits right in there, letting me customize the colors, and with the amount of room left on the bottom, I added the Happy Thanksgiving portion of the new World Changed Thankful Greeting (066H)


Using the other half of my yellow card stock, I decided to make a second card, one that didn't require coloring.  I stamped the Single Fall Tree three times and used the spotlight technique to bring in the effect of autumn leaves. All you need is colored paper and a small circle punch.


I sponged on some green ink for grass and added the fence from the new River Rocks & Fence Line 2 in 1 Scene (087P).  

I finished the card using the Script Happy Thanksgiving stamp, die cutting it and sponging it using the color inspiration from the trees.

Be sure to stop by DRS Designs to see all of the new fall themed stamps!

Have a great week...
Karin


Tuesday, September 1, 2020

Thankful

Hi Everyone,

I can hardly believe that it's September.  Even though we haven't gone anywhere this summer and the days felt long, now that we're heading into fall, I feel like the time has flown!  The cooler night time temperatures this past weekend, really put me in the mood for some card making.  I even snuck in some snow on my first card.  DRS Designs has some new fall stamps on the way this week, and I'm excited to give you a peek!

A couple of  the new 2 in 1 stamps allow you to be creative and stamp a whole scene.  I always need to give myself a pep talk before I start this type of project, but it was so easy to get great results. If I can do it, anyone can!

I began by stamping the mountains and then the tree line below it.  Next I stamped the Log Cabin, fence and filled in using the little bare trees. After coloring in everything, I made a mask for the house and stamped the the grass portion, finishing it up with some glitter and the greeting.  

Here is the list of stamps used:

Mountain & Tree Line 2 in 1 Scene (045P)
River Rocks & Fence Line 2 in 1 Scene (087P)


This card is right in my usual comfort zone.  One image, one sentiment and a layout of my choice :)

I dry embossed the base with a leaf embossing folder (Darice) and stamped a border using the
 Polka Dot Background.  I stamped it once in brown ink, and then used my stamp-a-ma-jig and lined up the green dots in between the spaces and stamped again,  for a slightly different look.   After stamping and coloring the new Sunflower Bucket (062F), I fussy cut it and attached it to a die cut.  I stamped the Thanks Be to God Greeting and layered that up using my punches.


Before I attached the greeting and image, I wrapped the background in a gauzy ribbon to finish it off.  

I hope this has got your fall cardmaking mojo going.  Be sure to check in here all week for more sneak peaks, of the new seasonal stamps! Have a great day...

Karin

Tuesday, August 25, 2020

Trick or Treat & Thanks

Hi Everyone,

While I'm not sure if Halloween will look the same this year, I'm hoping communities come up with some creative options for kids to dress up and celebrate safely. 

In that spirit of hopefulness, I made a card using the Ghost Family Portrait (which look like trick or treaters to me!) and the Small Trick or Treat Greeting. I simply die cut and matted both, and layered everything onto a background inspired by the colors candy corn itself. 


Inside I stamped and colored up the Candy Corn Border and matched it with the Favorite Veggie Candy Corn Greeting.


I needed a thank you for a friend, so I stamped, embossed and fussy cut the Polka Dot Flower, adding a gem to the center.  I die cut the word thanks in green, and attached it in place of the stem.  I framed it out and glued it onto an embossed background.  Super easy!


After I was done, I happened to notice that it actually looks cute in the horizontal direction too.


You can check out all of the newest Halloween stamps (and flower stamps too) over at DRS Designs!

Have a happy day :)
Karin


Tuesday, August 18, 2020

Spooks and Spiderwebs

Hi Everyone,

As the title of the blog says, my cards today are loaded with spiderwebs and ghosts.  Sometimes when I'm done making a card, rather than put the stamps aside, I try and create something different using some of the same stamps.

For this first card, I made the oval image by stamping the Small Trick or Treat Greeting and surrounding it using the Small Flying Ghost stamp.

I dry embossed the bottom and stamped the Empty Spider Web in the corner of the top, adding the spider from the 4 in 1 Halloween Silhouettes stamp.  I added a few strips of black and yellow glitter and finished it with a die cut spider and a few gems.


This second card was a pretty quick and simple one made using the Empty Spider Web stamp for the background, and a die cut frame and ghost.


Here I tried for a close up of the glittery ghost and the Spirit of Halloween was stamped onto a banner for the sentiment.


And inside I completed the card using the Frightful & Delightful Halloween Greeting and another Small Flying Ghost.


Thank you for visiting and I'm wishing you a day that more delightful, than frightful!

Karin

Tuesday, August 4, 2020

In the Spirit

Hi Everyone,

I thought I would do a punny take on the new In the Spirit of Halloween Greeting, and match it up with an embossed martini glass background.  I needed someone to drink that martini, so I stamped,  heat embossed and fussy cut the Mummy.  And I figured he would have been having that drink at a party, so I gave him a witches hat for a costume. (The hat was fussy cut from the Broomstick Stella Witch stamp.)  I simply finished the front by adding a couple of die cut bats.


I embossed a white panel again, and the added the Drink Up Witches for the inside sentiment.


Cheers to Halloween!  

Thanks so much for visiting today!

Karin

Tuesday, July 28, 2020

Happy Halloween

Hi Everyone,

One of my favorite ways to use tiny stamps is to use my punches to bring them
life!

I used the 4 in 1 Halloween Silhouettes and punched them out using my circle punches.

I embossed the background using a Darice folder and added a punched borer.  The sentiment was punched as well using the Small Trick or Treat Greeting


Here I used a square punch along with the Small Flying Ghost.  The Pattered  paper was made using the Interlocking  Circles.  


I used the Happy Halloween to finish it off.  

Happy Halloween!|
Karin

Tuesday, July 21, 2020

Halloween Cards

Hi Everyone,

I had so much fun stamping with these new Halloween stamps.  I think I say this every year when making cards for the fall season, but it is my favorite time to make cards!  Thoughts of cooler weather, the rich colors, the sun setting sooner and the candy treats are some of the things that make me look forward to the coming months. 

I started this card knowing I wanted to use the Silhouette Halloween 3 in 1 Tree, so I sponged a purple background, masking a spot for the moon.  Along with the new tree stamp, I used the
 Spooky Tree Limb and the Accent Bats to fill out the scene.

The new Frightful & Delightful Halloween Greeting, along with the glitter embellished 
Leaning Ghost, was stamped and added with some dimensional foam tape.


For my second card, I began by stamping the Moonlight & Magic Halloween Greeting, embellishing it by stamping the witch from the 4 in 1 Halloween Silhouettes, in the moon. Playing off the shape of the moon, I used a circle die cut and matted it in yellow and added some blue sponging for the sky.

For the background, I used the Splatter Background stamp and added two strips of black and gold glitter. 


Keep checking in with us here at the blog for more Halloween cards, and to see all of these stamps, just hop on over to the DRS Designs store!

Have a great day!
Karin


Tuesday, July 14, 2020

Bee Happy

Hi Everyone,

We're getting ready to show off some new stamps later this week, but until then, here is a quick card I made for a friend's birthday.

I dry embossed the background and added a stamped portion to the bottom, made by using the Honeycomb Design and Bee Trail stamps.

The punched and layered image and greeting are the top portion of the Bee Happy Birthday Greeting ,


and the second half of the greeting I stamped inside.


I finished off the inside using the Puff Circle.

Click here to see all of the cute bee related stamps that DRS Designs has to offer!

Hap-"bee" stamping!

Karin


Related Posts with Thumbnails