Hi Everyone,
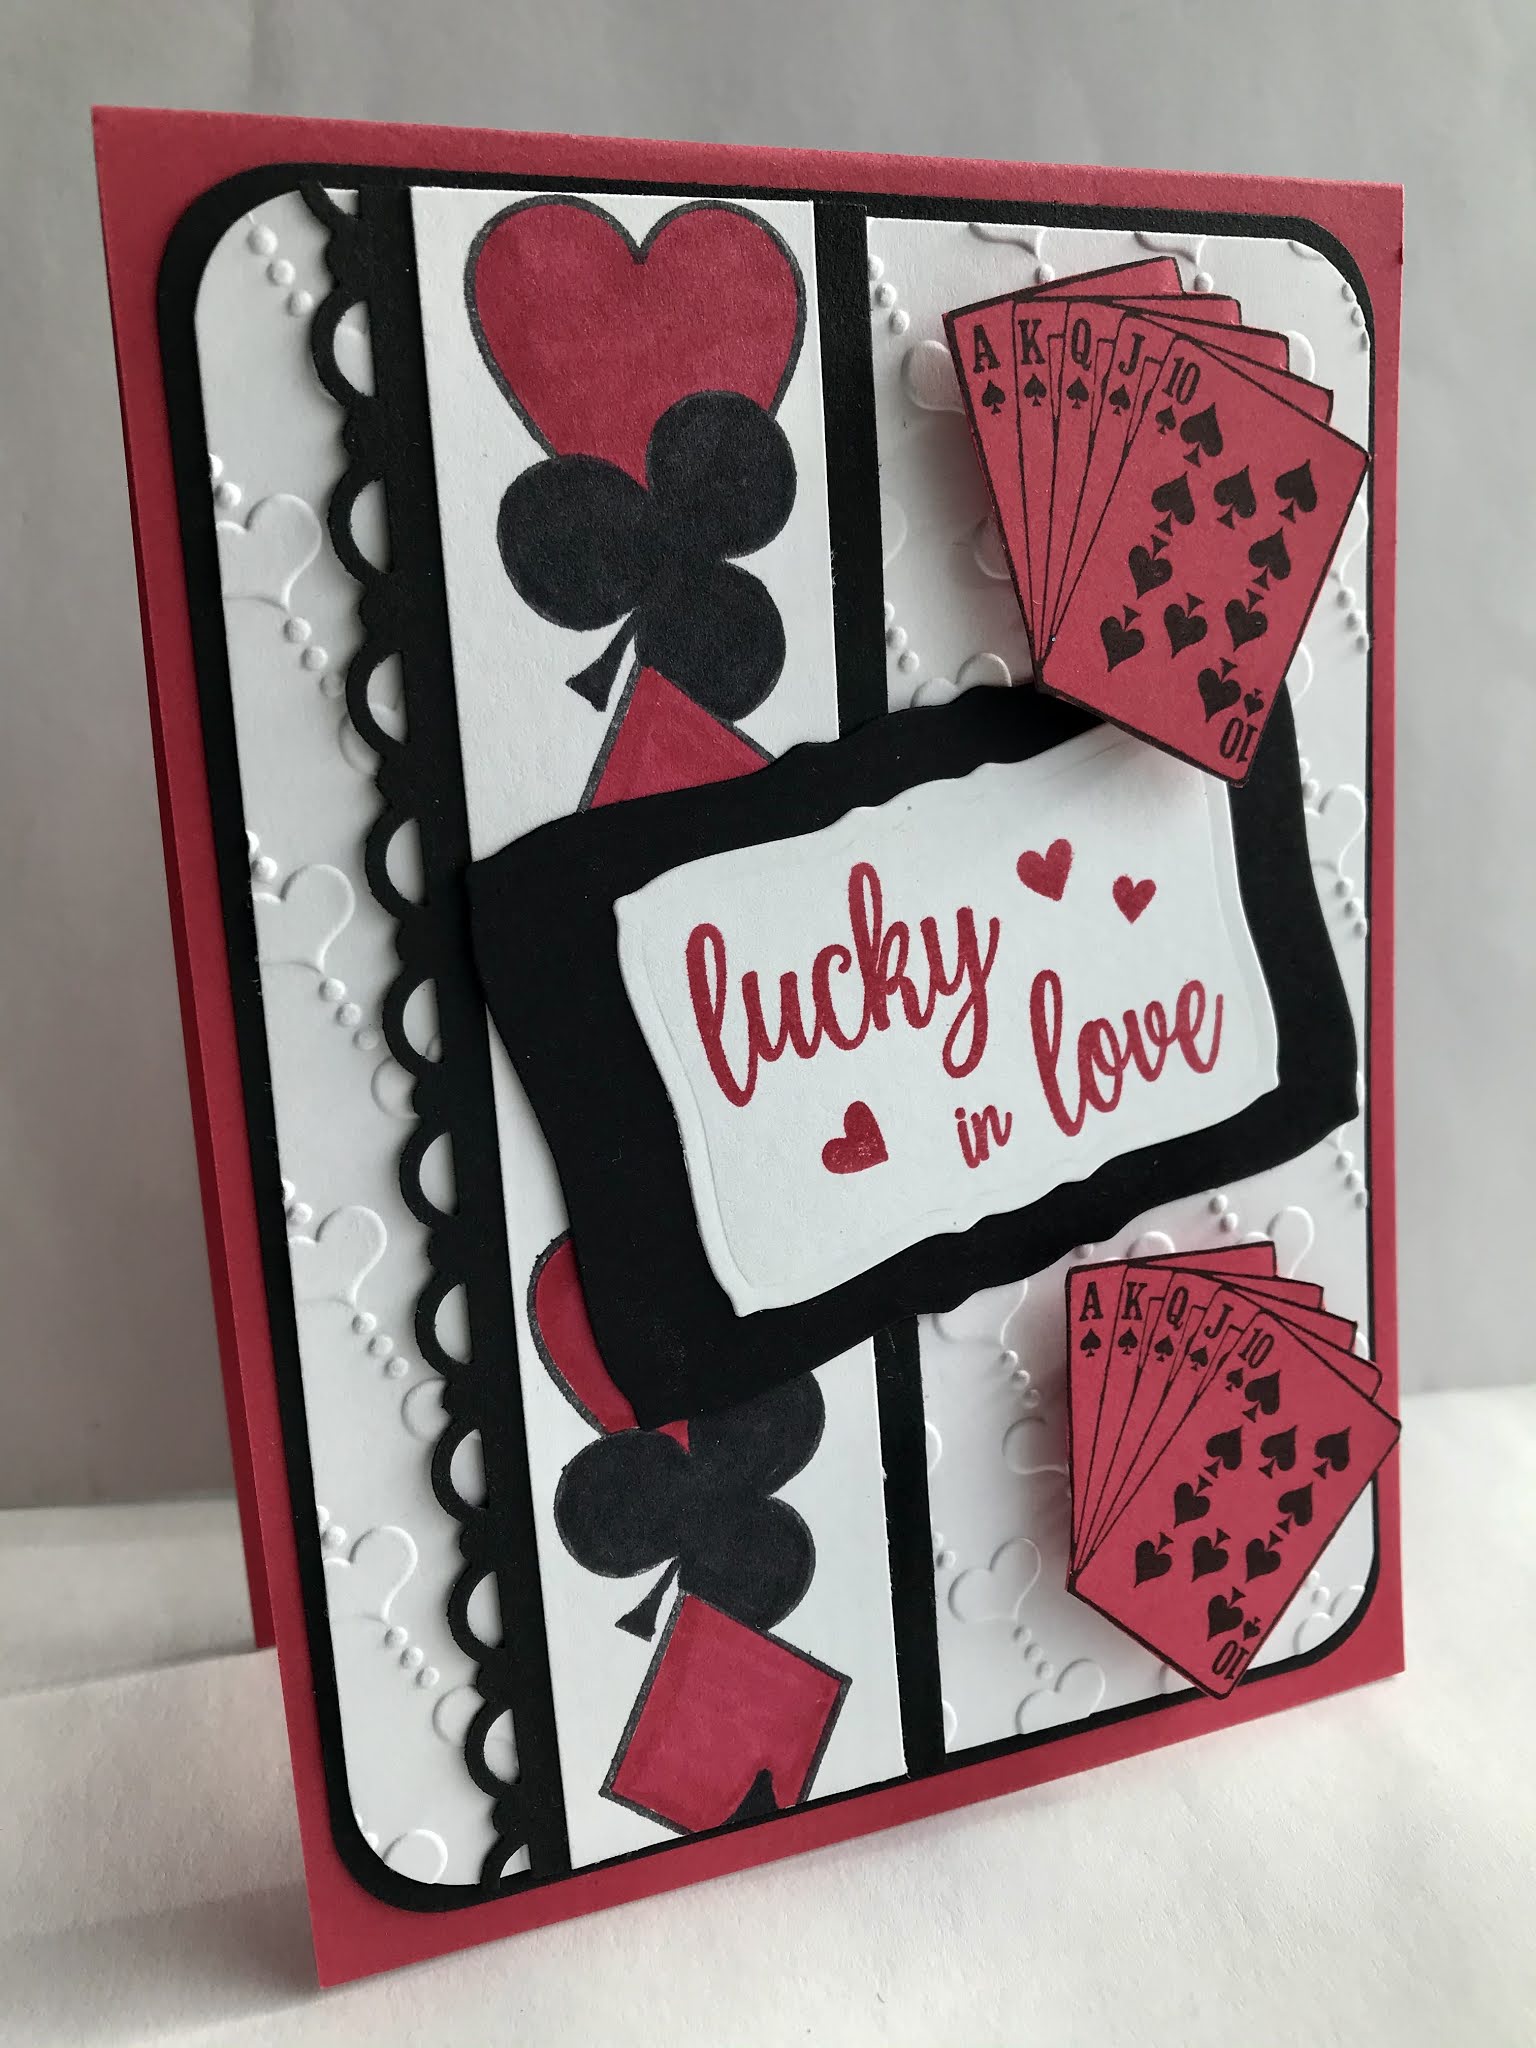
I've spoken about my love of puns on cards, so I went ahead and made a minor change on the new Lucky in Love greeting, to make it match my image on today's card. I simply added a die cut letter d.
Karin
Hi Everyone,
Hi Everyone,
Hi Everyone,
I started by stamping the background by using the Flower Hearts stamp. I then stamped it again for the focal image, die cut and colored it in. I knew I was going to pair it with the new Bee my Valentine Greeting, so that of course meant adding some bees, using the Happy Bee and Bitsy Bumble Bee stamps.
Hi Everyone,
Have you been enjoying seeing some of the new stamps that are being released here at DRS Designs? These stamps I'm showing today are perfect for the month of January! If you get them now, you can use them to get a jump on your holiday cards too :)
This first card uses the Silhouette Skating Snowman. I inked up the stamp once, and stamped it on the right side of my panel. Using that same stamp again, without reinking it, I stamped it a couple more time to give the effect of movement. I then sprayed the panel with adhesive and sprinkled it with iridescent, snowy glitter.
After framing it in red, I attached a strip along the side, embellishing it with a punched snowflake and the new greeting, It's Freezin' Season. Which is crazy cute in my humble opinion! I then attached it to a grey card base that was stamped using the Snow Background stamp and the same blue ink.
Here I used the new Skating Snowman and colored him up to match the Woven Plaid Background I made for him. I used green and blue ink for the pattern and added a strip of embossed snowflakes to the bottom.
I stamped and die cut the same sentiment, and added some twine and a snowflake button for embellishment..
Check out all of the newest stamps by clicking here and Happy New Year!
Karin
Hi Everyone,
Hi Everyone,
Here's a look at the one paper crafted holiday item I made this year. I was working on things over the summer for my niece's wedding and I made this rosette out of white paper. It didn't work out for my favors, so I added some winter elements and made this ornament for the tree.
The rosette base was made from 2 strips of paper measuring 2" x 12", and scored every 1/4". It was then border punched along one side, folded accordion style and hot glued together. I stamped, colored and fussy cut the Medium Mr. Snowman image, attaching him to a few die cut and embossed circles of matching paper. The word Frosty came from the Winter Wonder Words Greeting stamp.
And on the back I used the Snowman Especially for You stamp.
Hi Everyone,
Hi Everyone,


Hi Everyone,
I have a quick post today, because I still have so much to do. While my Thanksgiving table will only have four around it this year, I'm grateful for each one. And because I'm still having more than just me, I will be cooking a turkey and all the traditional sides :)
I used fall inspired colors for my new home card today. I was looking through my stamps for a house image, and decided on the Snowy Birdhouse because it was a seasonal one. I colored and die cut it, along with the New Home Greeting. For the background, I stamped it up using the Small Pinecone image and added some glitter glue and a die cut leaf to complete it.
Hi Everyone,
Hi Everyone,
We did a lot of work remodeling the outside areas of our home this year. We removed our deck, brick walkway, and pine trees and put in a paver patio, fire pit and fence. The deer are so confused, we see them standing on the outside trying to figure out what happened to their usual thoroughfare. For me it has been a joy to have some fall flowers and even a bird feeder that they can no longer eat and empty!
This has inspired today's card. I stamped and heat embossed the background using the Interlocking Snow Background. The Beauty of the Season Christmas Greeting and Bird Feeder image were stamped, and then die cut to create one central panel for the front of the card.
Hi Everyone,